Why making a shopping list is an important step in building a website
Before we get started, make sure to go read parts 1 and 2 so you’re all caught up! So far, we’ve talked through goal setting and your products and services. Now, let’s figure out how to condense everything into a list.
Listen up – all roads lead here, friends. Regardless of whether you’re a type-A planner or fly by the seat of your pants-er, everyone ends up asking the same question: “What kind of website do I need?”
So what’s the answer?
In reality, this is a hard question to answer when you don’t know who you’re building it for or what you need. As a result, many business owners get overwhelmed and either forego the website altogether or go with the cheapest/easiest option.
Without a website, you’re leaving the reputation of your business in the hands of your audience, meaning you have little to no control over your messaging or how you’re represented.
And with the cheapest option, you often won’t be able to scale the site as your business grows (meaning you’ll be constantly rebuilding…yikes!)
I know it’s overwhelming but we can break it down and make the process more approachable. We’ll prioritize how your clients interact with your products and services first and then figure out how that fits into your website. Essentially we’re building a site around the needs of your current and future clients.
All of that to say, you need a website and making a comprehensive list is a necessary step.
Up until this point, you’ve already done a lot of background work. Now, it’s a matter of tying it all together and translating it into a “shopping list” for your website.
Breaking it down
Let’s start with a step-by-step process that breaks it down into nice, bite-sized pieces.
1: Identify Your Client Interactions. Look back at what you outlined for your audience, products and services (we discussed this in the last post). Pay attention to how your clients achieve their ideal outcomes and how you facilitate this. Make a list of the actions involved. Are there videos? Worksheets? Phone calls? Consider every action you or your client must take in this process.
2: Plan for the Future. Remember how we discussed outlining future goals in the first post? Repeat Step 1 with the products and services you plan on adding in the future. It’s okay if you haven’t fleshed them out, but it’s necessary to have some idea of where you want to go.
3: Organize The Touch Points. Some of your products and services will have the same actions involved. Go through Steps 1 & 2 above and make a master list of all client interactions. Consider items like online purchases, appointment scheduling, digital downloads, etc. This will help you identify what features you’ll need.
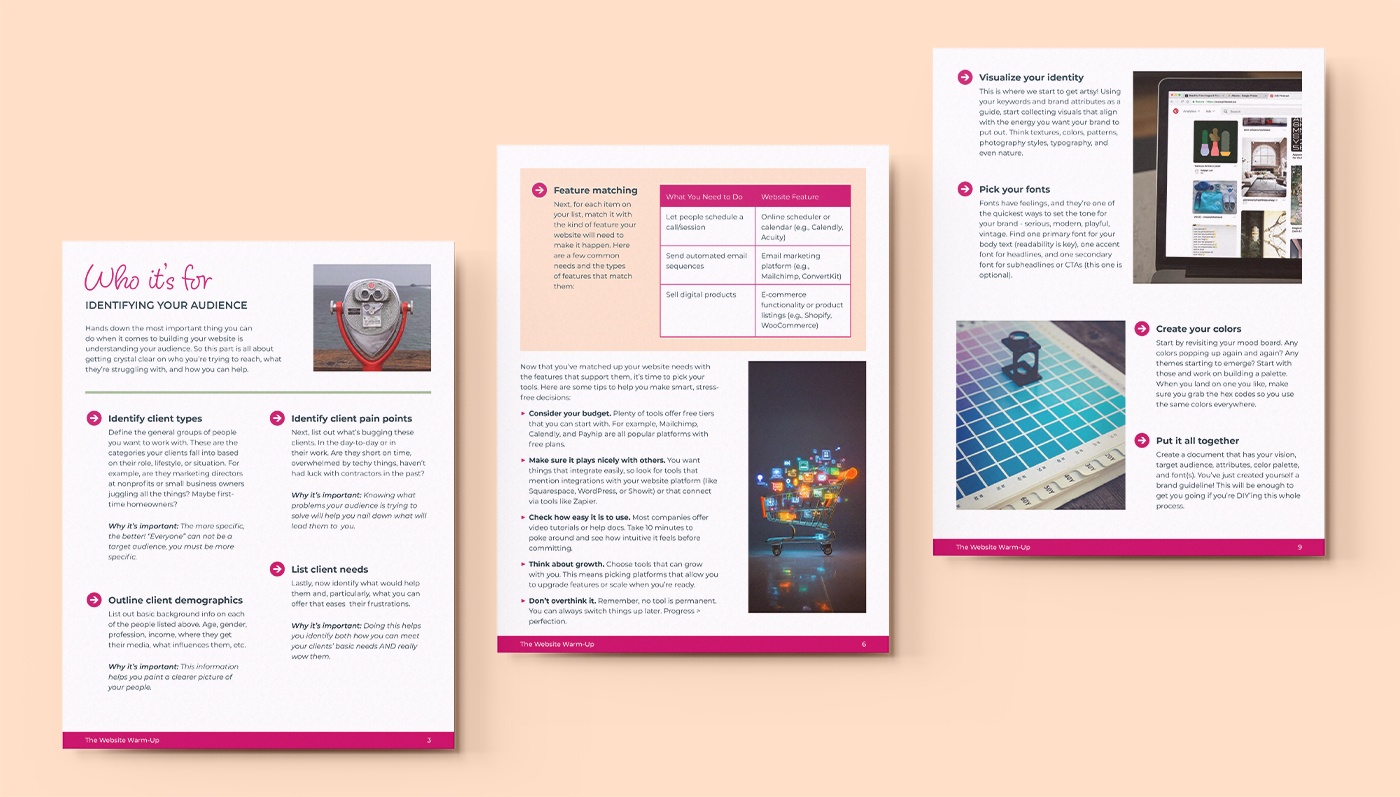
4: Identify Your Features. Now that you have a list of actions, it’s time to make that into a list of features. For each action, identify what feature you’ll need. For example, online purchases will need a store, shopping cart, and payment processing system. Appointment scheduling will need a booking system that connects to your calendar. You get the picture.
And there you have it! This process will give you a clear list of what to search for in each platform, what questions to ask of a designer if you hire it out, and a final checklist that ensures your website meets your business’s needs.
Way to go! Making a shopping list puts you one step closer to a finished website.
______________
The purpose of this blog series is to convince you to start the website build process with strategy rather than jumping right into design – and of course to teach you how to do it. I urge you to read all 6 parts of this series so you feel prepared to take on this huge task of building your website. And for more guided support than your heart could desire, check out the Fearless Website Workbook.


